Welcome to the guide for using Paperima! This web application makes it easy to turn ordinary images into cool animations with basic features like paper cutout effects and open-close paper animations. This tutorial will walk you through each step, from importing your image to exporting your final result. Let’s get started!
Step-by-Step Instructions
-
Import Object Image
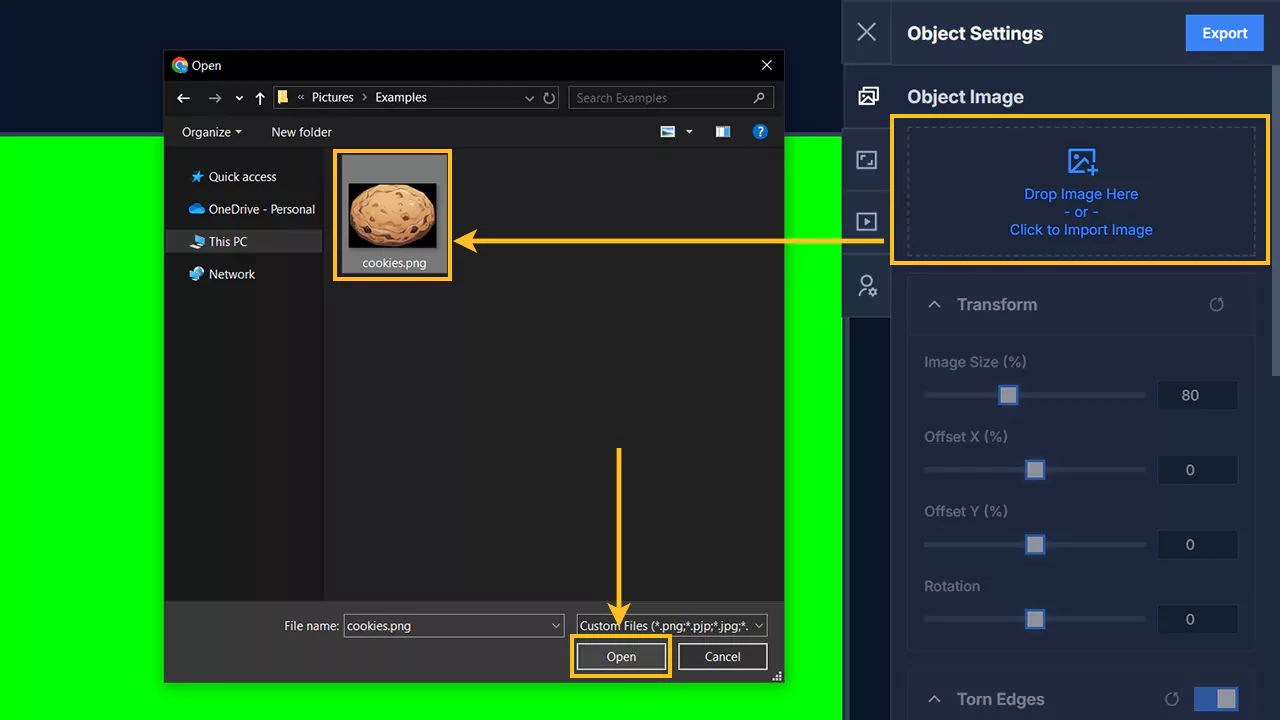
Start by importing your object image by clicking on “click to import image”. -
Select Your Image
A file explorer window will appear. Choose the image you want to use. For best results, use a PNG image (with transparent background). For example, here we select cookie.png.
-
Adjust Image Properties
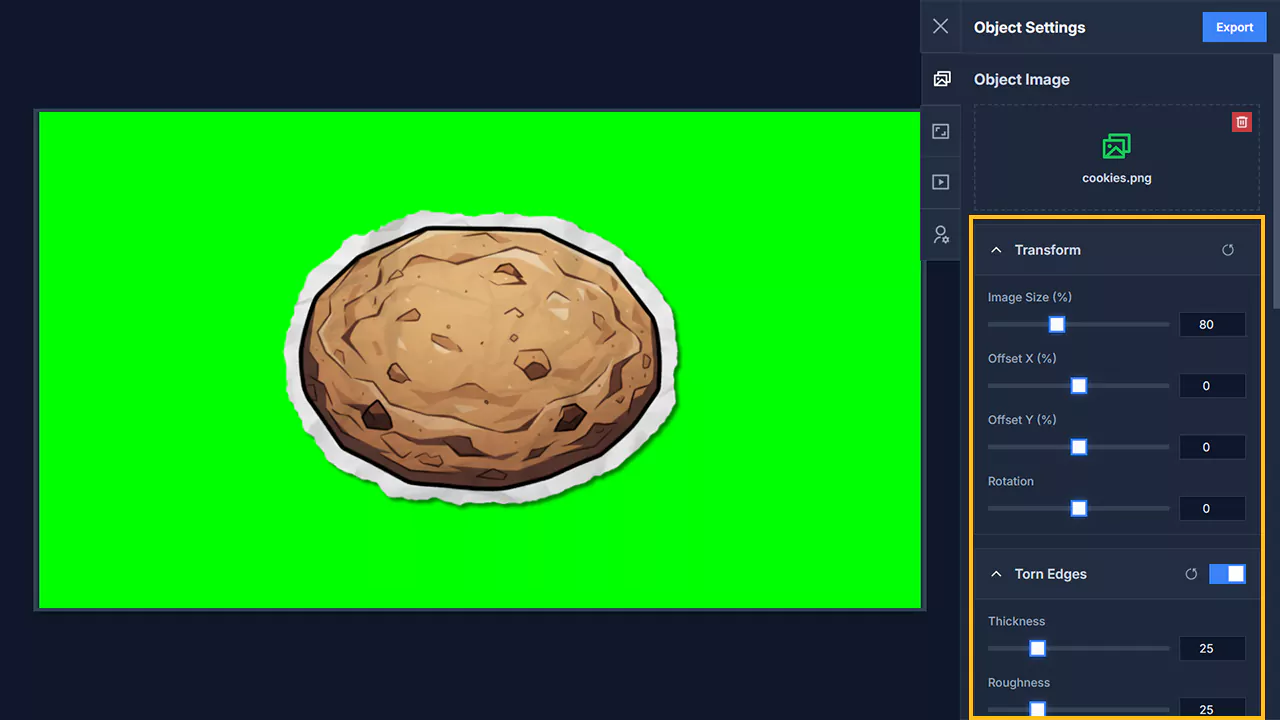
Your image will automatically appear in the preview area. You can adjust various properties such as size, position, and paper effect details in the settings panel below.
-
Set the Background
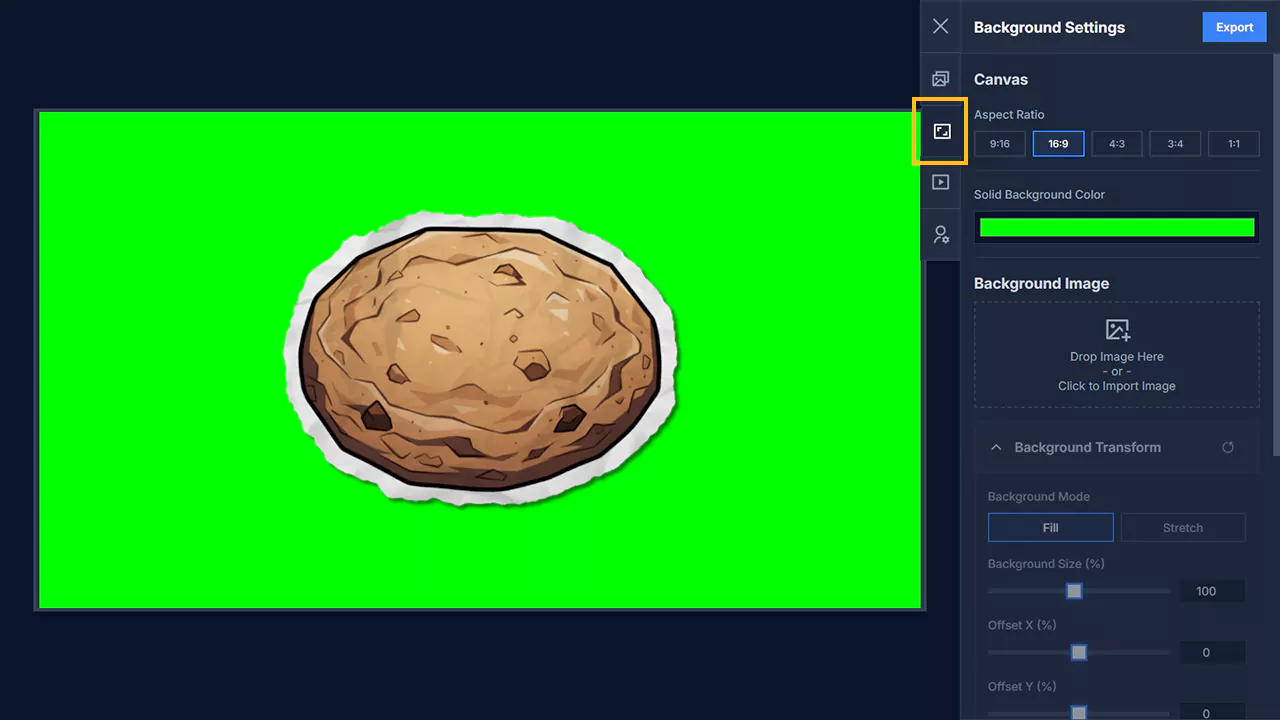
Switch to the “Background” tab. Here, you can set the aspect ratio, change the background color, or even use your own image as the background. For this guide, we’ll leave the settings at their default.
-
Add Animation
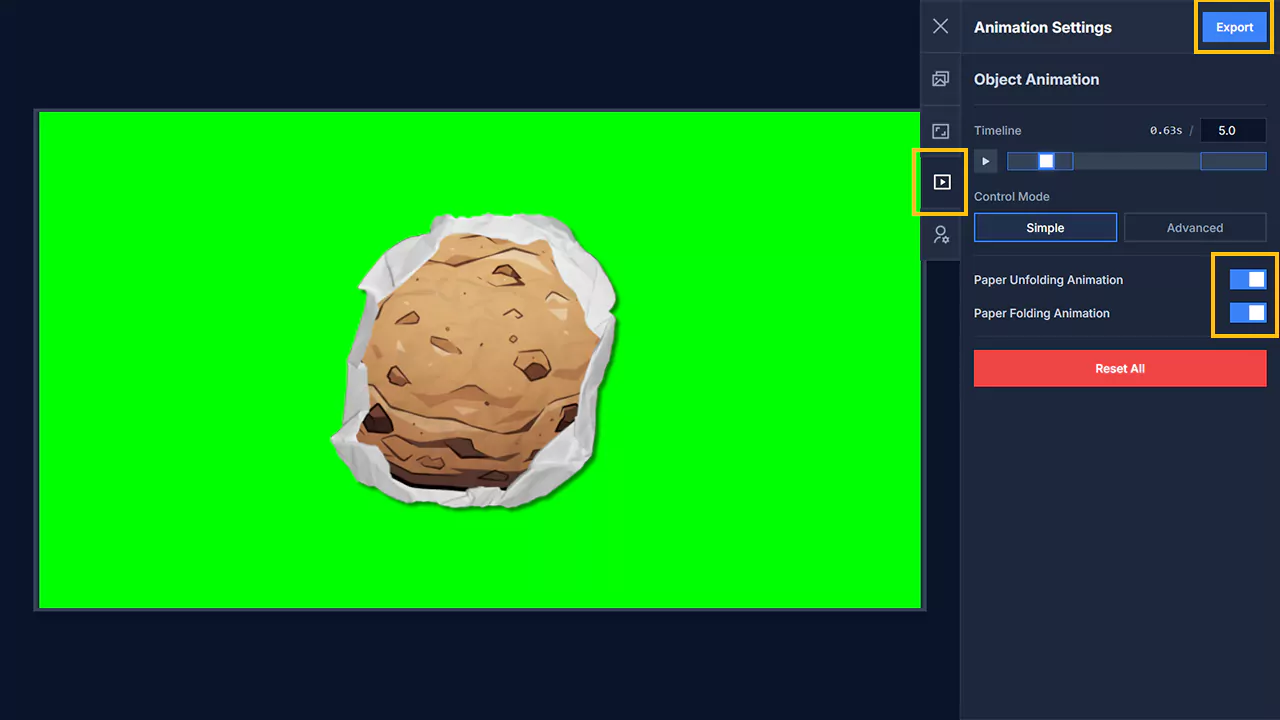
Next, open the “Animation” tab. Here, you can choose the type of paper effect animation you want, such as “Paper Folding” or “Paper Unfolding”. Enable the switch for “Paper Folding” to add a folding animation, or “Paper Unfolding” for an unfolding animation. You can also enable both options at the same time for a more dynamic animation effect.
-
Start the Export Process
Once you’re satisfied with your adjustments, click the “Export” button. You’ll see some final export settings. -
Adjust Export Settings
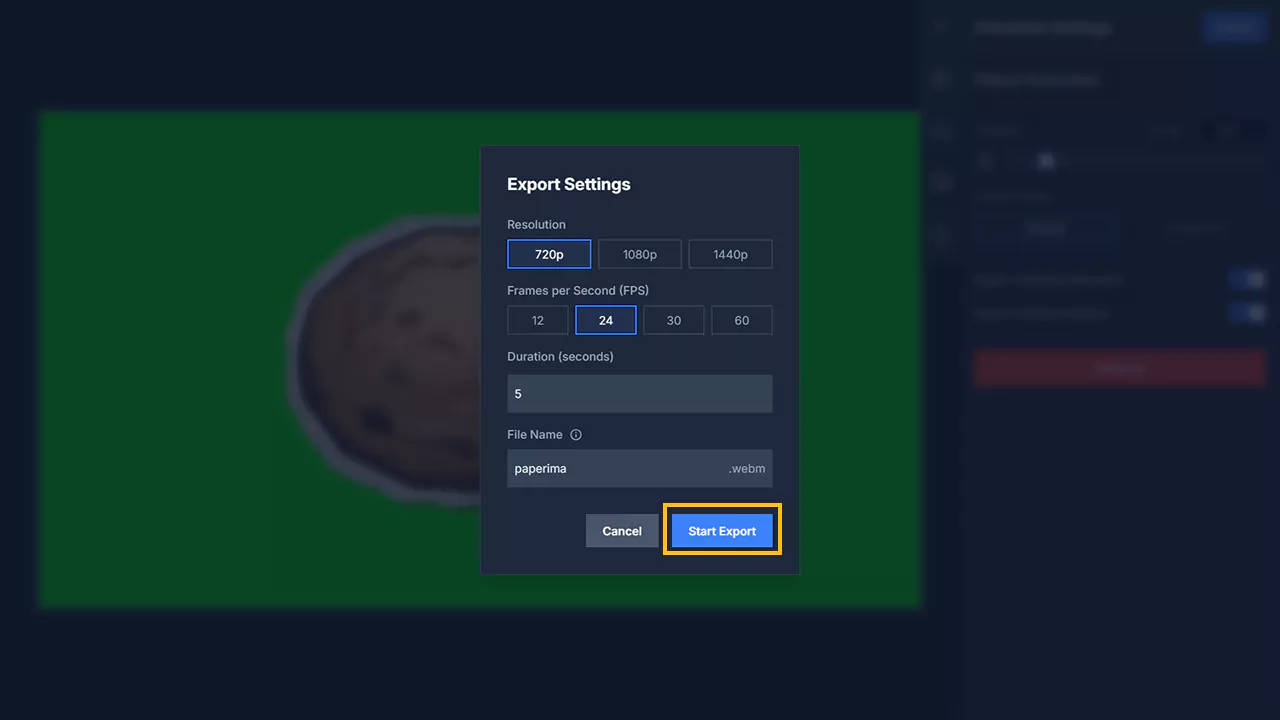
Here you can set options like Resolution, FPS, Duration, and File Name. Note that increasing Resolution and FPS may increase export time. For this tutorial, we’ll keep all settings at their defaults.
-
Start Export
When everything is set, click “Start Export”. -
Wait for the Process to Finish
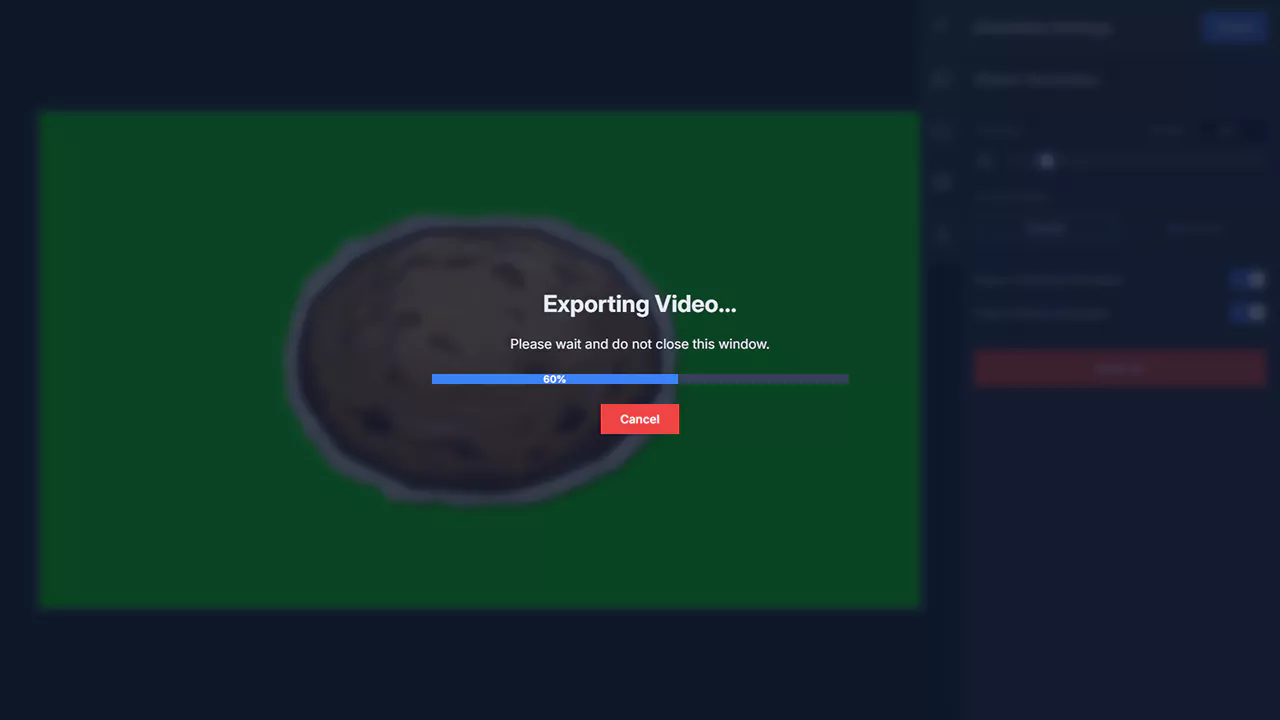
The export process will begin, indicated by a loading bar. Wait until the process is complete. Important: Do not close or switch tabs before the export finishes. Once done, the video file will automatically download to your device.
-
Done!
Now you have a unique and attractive animated video with paper effects.