Greenscreen, which is also called chroma key technology, has brought major changes to visual production. Many creators only realize its full potential after exploring the process in detail. This technique makes it possible to swap backgrounds smoothly, whether for big-budget films or simple online videos. The core idea is straightforward. Software detects a particular shade of green and replaces it with any chosen image or video.
Using greenscreen technology helps simplify editing and offers endless options for background selection. Yet, there is a challenge that often goes unnoticed by beginners and is sometimes underestimated by experienced editors. Shadows can become a serious obstacle. Understanding why lighting plays such a crucial role will reveal how shadows can disrupt the entire workflow, turning an otherwise easy process into a difficult technical problem.
Reasons Why Shadows Must Be Avoided
Shadows Disrupt the Chroma Keying Process
To truly understand why shadows create such fundamental problems, we need to think about how chroma keying software actually works. These programs function by detecting consistent color values across the green backdrop. When shadows fall onto the greenscreen surface, they create darker areas that produce variations in the green color spectrum that the software wasn’t designed to handle uniformly.
The consequence becomes immediately apparent when the software cannot accurately distinguish between pure background areas and shadowed regions. The result manifests as rough, jagged edges that look unprofessional and obvious to viewers. Think of this process like trying to cut paper with dull scissors - you end up with frayed, uneven edges instead of the clean, precise cuts that professional work demands.
Shadows Generate Noise and Visual Artifacts
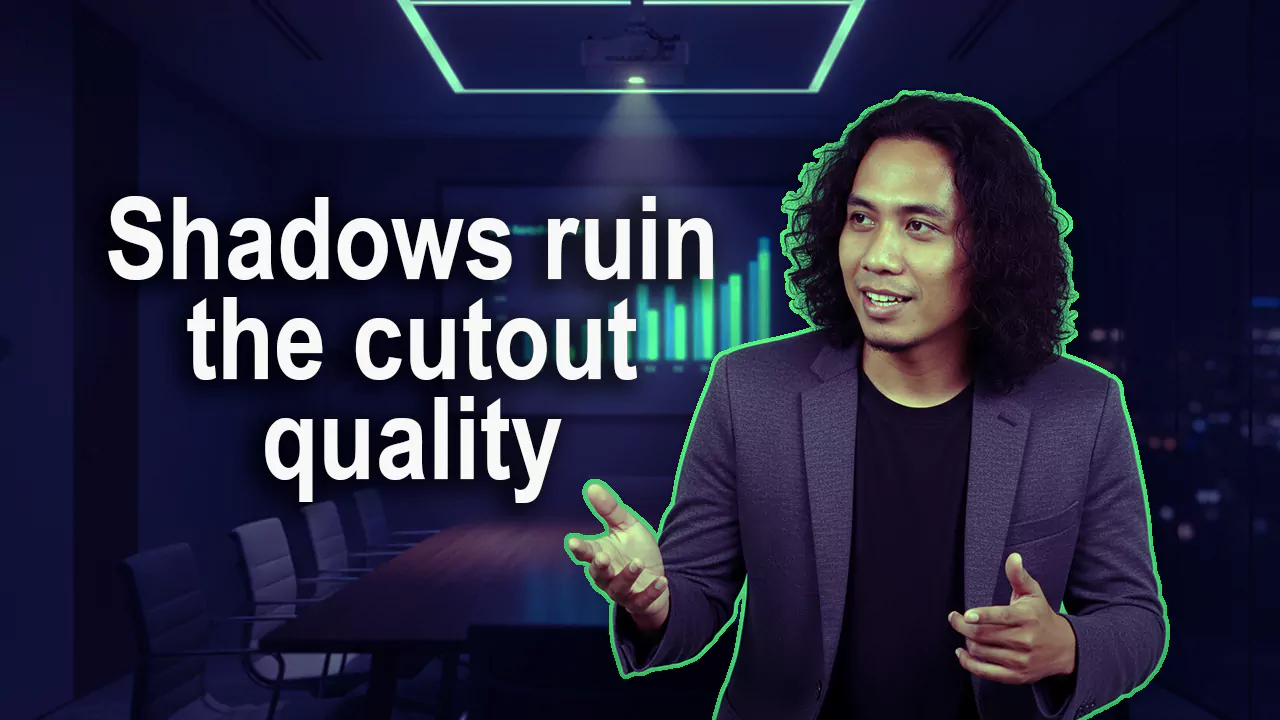
Have you ever wondered why professional greenscreen results appear so seamlessly smooth while amateur attempts often look obviously fake? The secret lies in the complete elimination of shadows from the equation. Shadows typically leave behind dark gradients that prove extremely difficult to remove cleanly from the final output. These gradients create stepped transitions from bright green to dark green, which confuses the software’s algorithms and creates processing inconsistencies.
The resulting visual artifacts can completely destroy the illusion we’re trying to create. Edge spill frequently appears around objects, creating an unnatural halo effect that immediately signals to viewers that digital manipulation has occurred. Digital noise can also emerge in transition areas, making the final result appear amateurish despite using expensive professional equipment.
Shadows Severely Impact Editing Efficiency
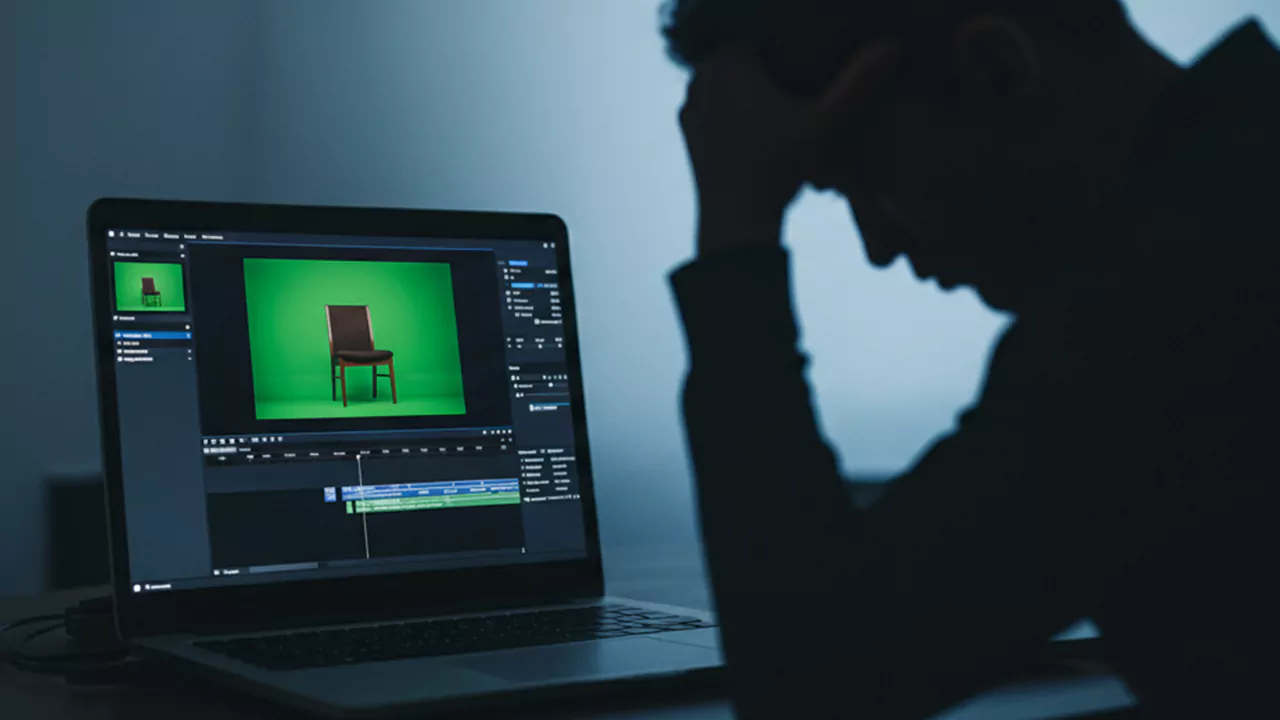
The most devastating impact of shadow presence becomes apparent in the editing workflow efficiency. Editors find themselves spending countless hours fine-tuning keying settings, adding manual masking, and adjusting color tolerance parameters for every single frame of footage.
In cases where shadows appear particularly dense or dark, sometimes these areas cannot be cleaned automatically at all. Editors must resort to rotoscoping - the painstaking process of manually cutting out objects frame by frame, just like editors had to do before digital technology existed. Consider the mathematics involved when editing a five-minute video at 24 frames per second, which equals 7,200 individual frames requiring manual attention. The sheer tedium and time consumption of this task can be overwhelming!
Tips for Avoiding Shadows on Greenscreen
When Creating Digital Assets
In digital content creation, controlling shadows becomes significantly easier because we maintain complete control over every element in our composition. The key principle involves avoiding the addition of drop shadow effects, outer glow, or any other shadow-based effects behind the main subject. While these effects might enhance the aesthetic appeal of your design, they transform into absolute nightmares during the keying process.
Consider using a separated layer approach when shadows become necessary for aesthetic purposes. This method allows you to control or remove shadows without affecting the main subject, giving you flexibility during post-production. Focus your attention on maintaining a flat background approach by ensuring the green color remains consistent without gradients or unnecessary transparency effects that can complicate the keying process.
When Shooting or Recording in Real-World Settings
Lighting setup becomes the critical success factor in real-world greenscreen production, and understanding the professional approach can make the difference between amateur and professional results. The secret that professionals use involves implementing a separated lighting system such as one set of lights dedicated specifically to illuminating the greenscreen evenly, and a completely different set of lights for illuminating the subject or talent.
Arrange sufficient distance between your subject and the green backdrop. The greater the distance between subject and screen, the smaller the likelihood that shadows will fall onto the greenscreen surface. Professional productions typically maintain a minimum distance of 2 meters to achieve optimal results, though this distance can be adjusted based on your specific setup constraints.
Implement soft lighting or diffusion techniques to soften harsh shadows and reduce high-contrast situations. Harsh lighting creates shadows with sharp, defined edges that prove extremely difficult to eliminate during post-production. By using gentle, even lighting throughout your setup, you create ideal conditions for clean, efficient keying that will save you considerable time in the editing room.