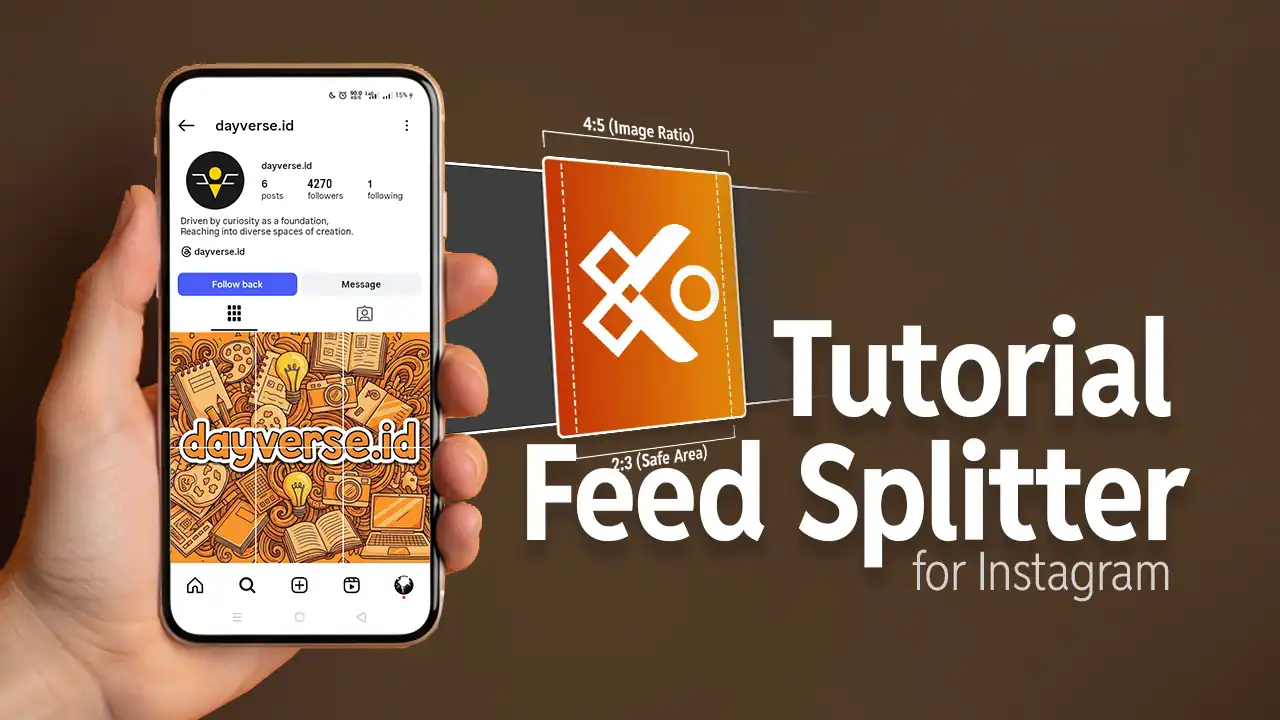
Creating a connected Instagram feed, often called a puzzle feed, has become a favorite trend for many users to create a cohesive and professional profile appearance. The concept is that each post you upload will connect with the posts around it, so when viewed from your profile page, all these photos form one complete large image.
However, if you’ve been using this method for a while, you’ve probably noticed a major obstacle. Instagram has made significant layout changes. The image splitting method that worked before can no longer be applied. The change in image ratio from the classic 1:1 format to 4:5, plus the complicated safe area at 2:3 ratio, makes manual splitting almost impossible to achieve perfect precision. Even a small mistake will ruin your entire feed layout.
The good news is that there’s now a special Instagram splitter tool for 2025 designed to handle these complex ratios. We’ll provide a complete guide that’s easy to follow and fail-proof.
Step-by-Step Tutorial Using Feed Splitter
For this tutorial, we’ll use an online tool specifically designed for the latest Instagram format.
-
The first step is to open your browser and visit this special splitting tool at https://dayverse.id/en/feed-splitter/
-
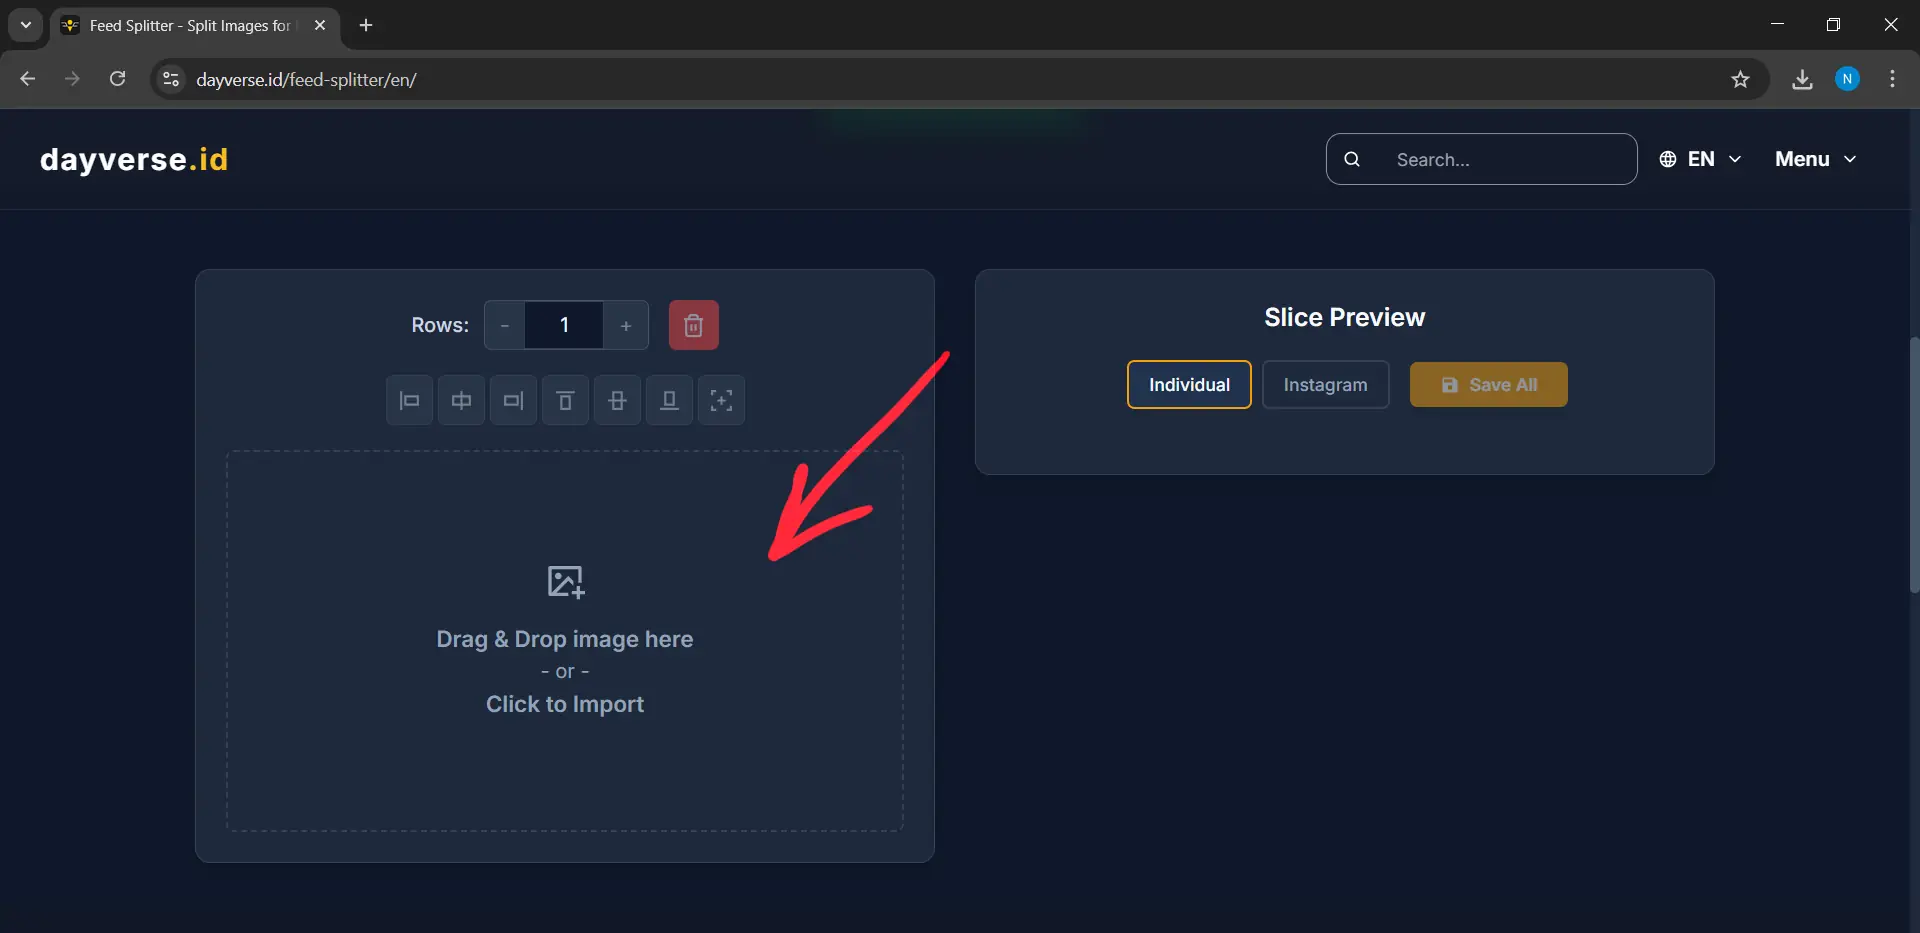
After the page loads, press the Start Editing button to enter the image splitting interface.
-
The next step is to add your photo. Click or drag a high-resolution photo that you want to split. Choose the best photo you want to turn into a puzzle feed.
-
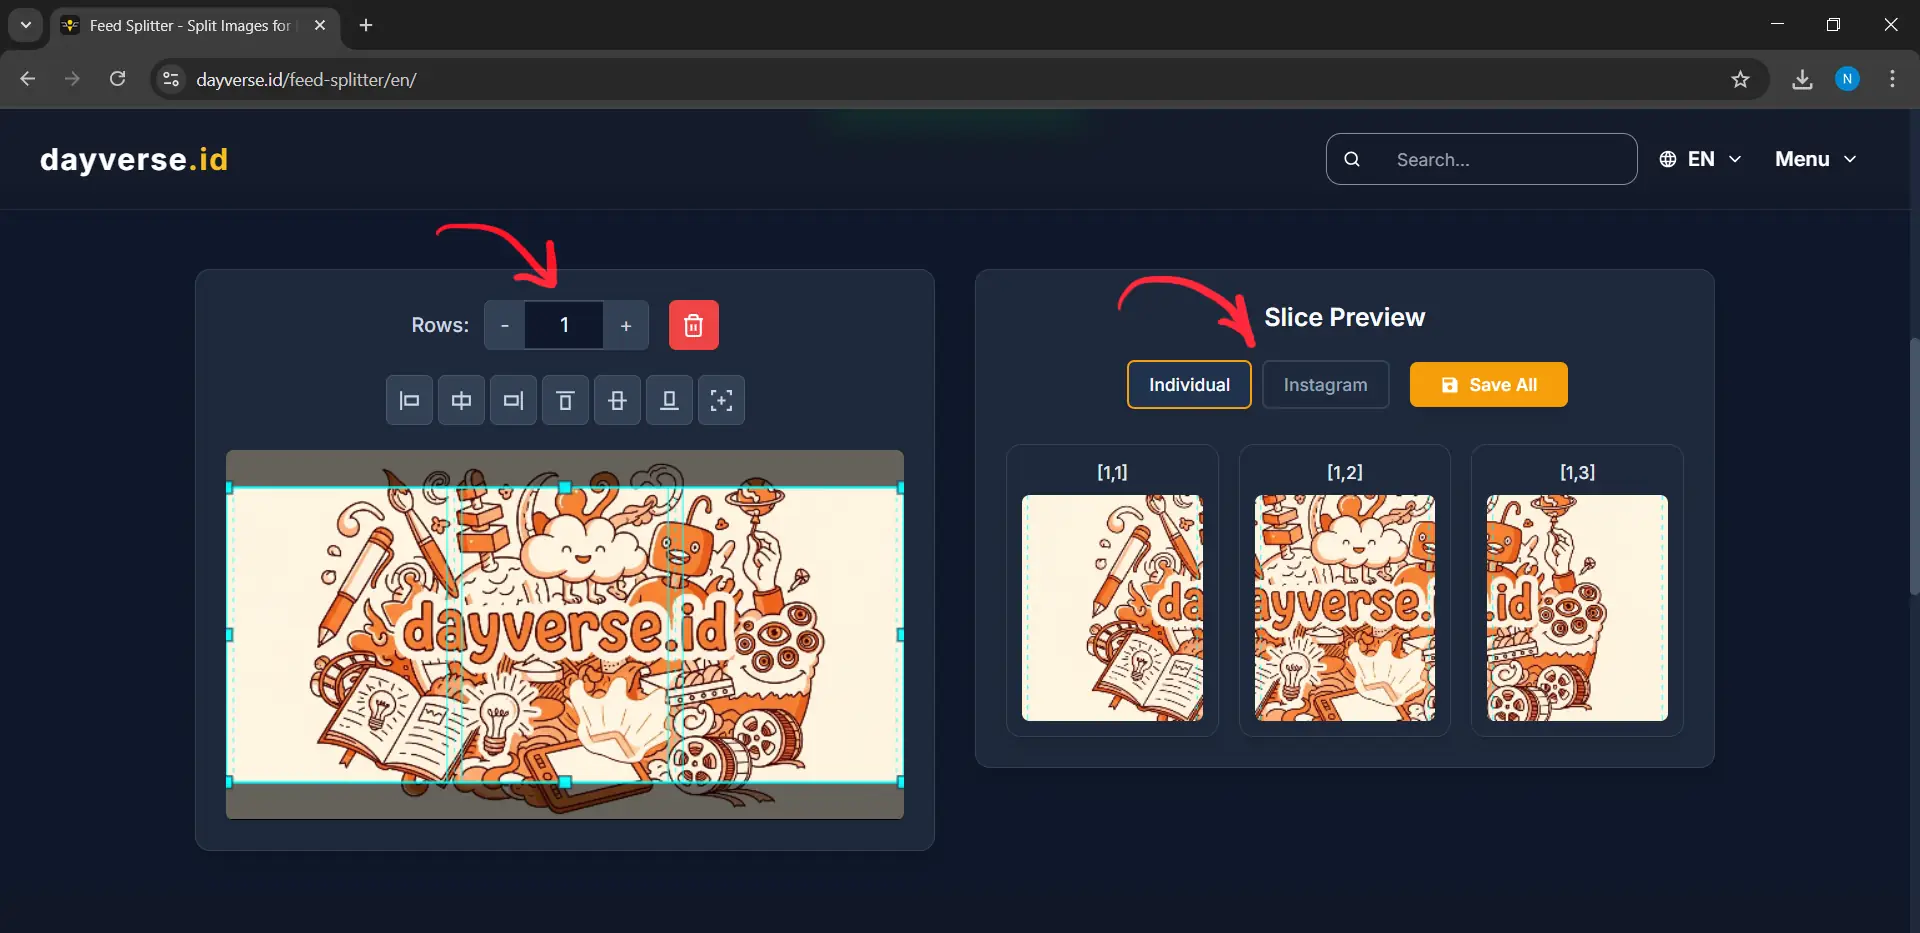
After your image loads, you’ll see a grid or network of boxes over the image. At this stage, you need to adjust the crop area. Position the image so the grid is exactly in the area you want to display. You can also add rows if you want the image divided into more parts. Make sure all important elements are within the crop area.
-
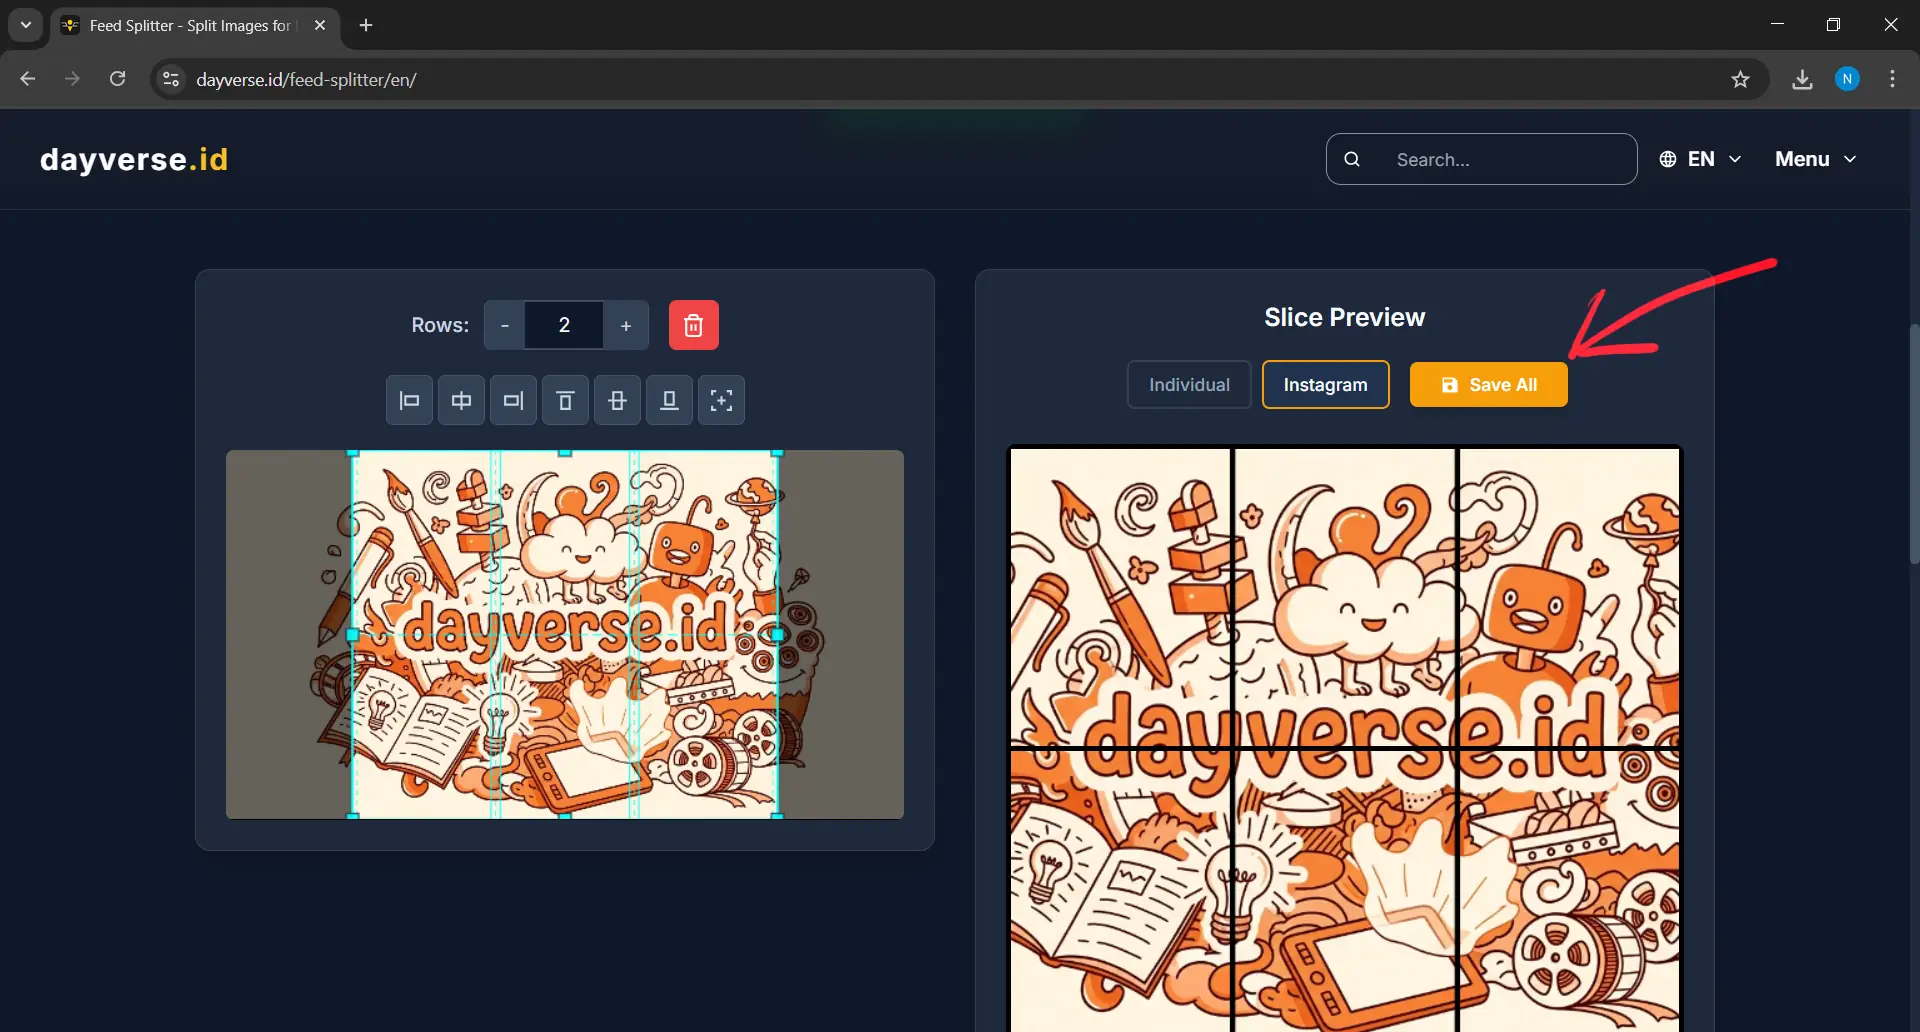
If you want to see how these splits will appear on your Instagram profile later, click the Instagram Preview button. This feature is very useful to ensure the arrangement is neat and properly connected before you save it.
-
When you’re satisfied with the preview, click Save All. Note that some browsers may ask permission to download multiple files at once because this feature generates several images simultaneously. Just allow it if that question appears.
How to Upload Images to Instagram in the Correct Order
After all images are saved on your device, the final step is to upload them to Instagram. This is the most crucial part because the upload order must be reversed for it to display correctly in your feed.
The splitting tool will provide file naming in the format [row, column], for example [1, 1], [2, 3], and so on.
The upload order you must follow starts from the file with the highest number. In this example, we’re using a 2-row by 3-column grid, so the highest number is [2, 3]. Start by uploading image [2, 3] first. This is the bottom right image of your grid. 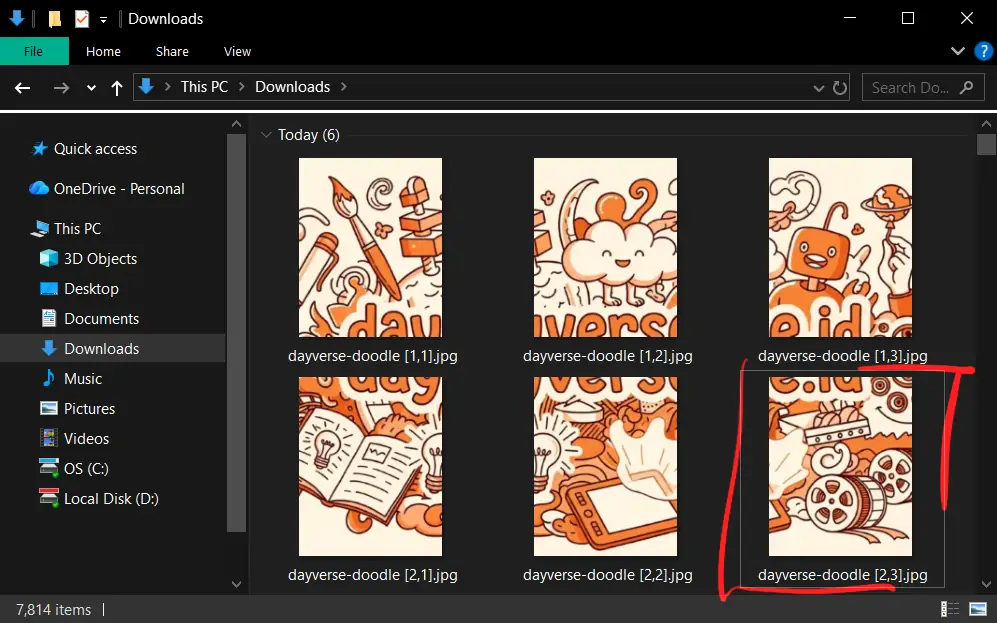
Continue in order by moving from right to left on each row, then from bottom to top. After [2, 3], upload [2, 2], then [2, 1]. After finishing the bottom row, move up to the top row. Upload [1, 3], then [1, 2], and finally [1, 1] which is the top left image.
Note: If you use a different grid size, for example only 1 row by 3 columns, then the highest number would be [1, 3], and you would start uploading from that file first.
If you follow this order carefully, your Instagram feed will display with a perfectly connected layout and look professional.
Conclusion
By using a special image splitter that’s been adjusted to Instagram’s latest 4:5 ratio and 2:3 safe area, the complexity of creating a puzzle feed is now completely gone. You no longer need to worry about images being cut incorrectly or the feed layout becoming messy. Happy creating, and may your Instagram feed be even more stunning in 2025.