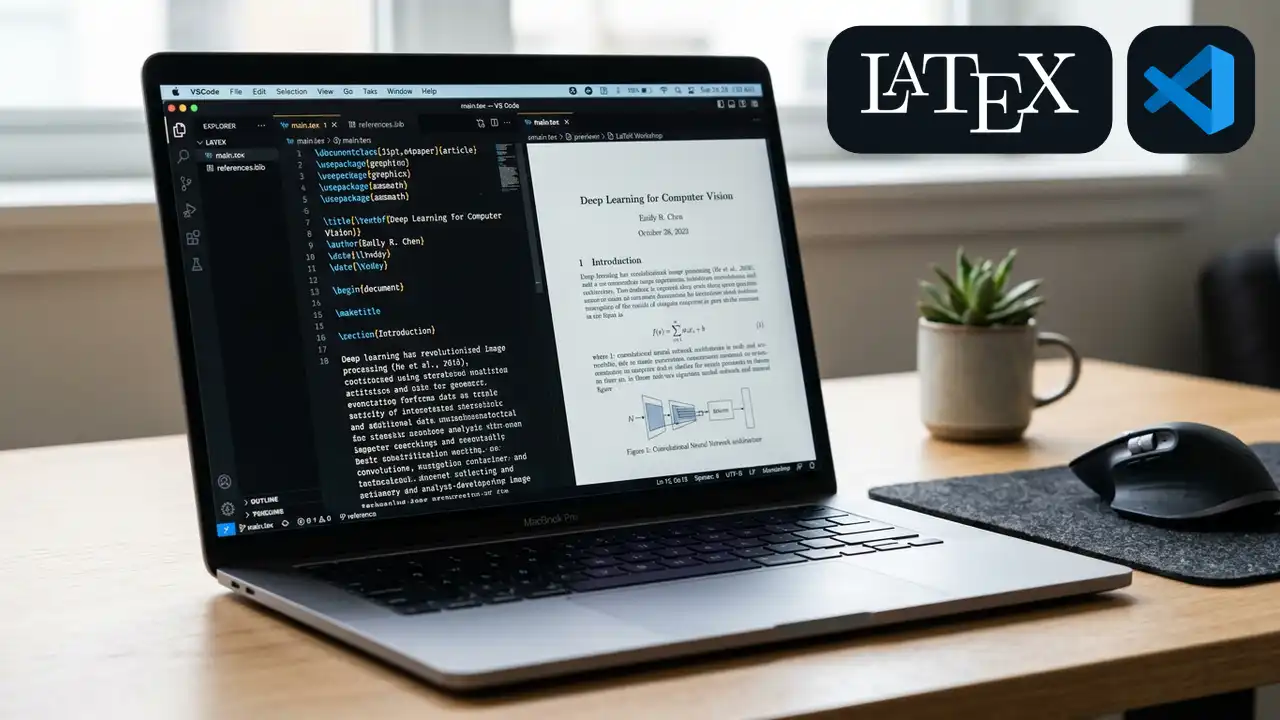
Writing LaTeX documents does not have to be complicated. By combining Visual Studio Code, the LaTeX Workshop extension, and the Tectonic compiler, you can get a lightweight and fast LaTeX writing experience without installing a massive LaTeX distribution like MiKTeX or TeX Live. This article will guide you from scratch, covering installation, configuration, project setup, and compilation workflow.
Why Choose Tectonic
Before diving into the installation, it is worth understanding why Tectonic is an ideal choice instead of a conventional LaTeX distribution.
-
Lightweight Footprint
Tectonic is packaged as a single executable file, such as
tectonic.exeon Windows. The executable size is only tens of megabytes, which is vastly different from traditional distributions that require between 4 and 8 gigabytes of disk space. -
Automatic Package Management
Tectonic automatically downloads required LaTeX packages from the CTAN network during compilation. This removes the hassle of managing package managers manually or storing thousands of unused packages locally.
-
Powered by XeTeX Engine
Tectonic is built on top of the modern XeTeX engine, which natively supports system fonts such as TrueType and OpenType alongside UTF-8 Unicode encoding. This makes typography setup and custom character rendering effortless.
-
Consistent Compilation Results
Tectonic caches downloaded packages locally on your machine. This ensures subsequent builds run fast offline while guaranteeing that rendered documents remain consistent across different devices.
Prerequisites and System Requirements
Before following this tutorial, make sure you have prepared the required software components.
- Visual Studio Code installed from the official Visual Studio Code website
- Tectonic executable binary version v0.16.9 (MSVC 64-bit) from the official Tectonic releases page on GitHub
- Biber bibliography manager version 2.17 from the SourceForge biblatex-biber repository (optional, but highly recommended if writing academic papers or theses)
This guide was primarily tested on Windows. However, all principles and configuration steps apply equally to Linux and macOS because Tectonic, Biber, and VS Code are cross-platform. You only need to adjust file paths and command syntax for your operating system.
Step 1 Setting Up Tectonic and Biber Files
Structuring the locations of executable files properly is essential so VS Code and LaTeX Workshop can discover all required tools without path conflicts.
- Create a dedicated folder on your computer to store compilation tools, for example
D:\latex-tools\. - Copy or extract the downloaded
tectonic.exefile intoD:\latex-tools\. - Copy or extract
biber.exeinto the same folder alongsidetectonic.exe.
Placing biber.exe in the exact same directory as tectonic.exe is crucial. When your LaTeX document relies on biblatex to manage citations and bibliographies, LaTeX Workshop and Tectonic invoke Biber automatically. If the executables are separated into different folders, the system often fails to locate Biber, causing references to disappear in the output PDF.
Take note of the full path to tectonic.exe, for example:
D:/latex-tools/tectonic.exe
Always use forward slashes / rather than backslashes \ when specifying paths in configuration files. This avoids character escaping errors in JSON format.
Step 2 Installing the LaTeX Workshop Extension
LaTeX Workshop is a feature-rich extension for VS Code that offers syntax highlighting, autocompletion, interactive PDF previews, and build pipeline integration.
- Open Visual Studio Code on your computer.
- Access the Extensions panel by clicking the four-square icon on the left sidebar or by pressing
Ctrl + Shift + X. - Search for LaTeX Workshop in the search box.
- Select LaTeX Workshop published by James Yu and click Install.
- Wait for the installation process to complete.
Once installed, a new LaTeX icon appears on the left sidebar. This icon acts as a control center for building projects, navigating document structures, and viewing PDF previews.
Step 3 Accessing and Editing settings.json
VS Code configuration settings are stored in JSON files. Editing settings.json directly provides precise control over extension behaviors.
Method 1 Through the Settings Menu
- Press
Ctrl + ,to open the Settings tab. - In the top-right corner of the Settings tab, click the paper icon with a curved arrow labeled Open Settings (JSON).
- VS Code will open the primary
settings.jsonfile in the text editor.
Method 2 Through the Command Palette
- Press
Ctrl + Shift + Pto bring up the Command Palette. - Type
Preferences: Open User Settings (JSON)into the input field. - Press Enter to open your user-level
settings.jsonfile.
Understanding settings.json Structure
The settings.json file uses JSON format with key-value pairs. If your settings.json already contains rules from other extensions, keep them intact. Simply append the LaTeX Workshop settings inside the main curly braces and separate entries with commas ,.
VS Code supports User Settings and Workspace Settings. User Settings apply globally across all projects on your system, while Workspace Settings reside inside .vscode/settings.json for a specific project. For general usage, modifying User Settings is the most convenient approach.
Step 4 Adding the LaTeX Workshop Configuration
To connect LaTeX Workshop with Tectonic, you need to define custom tools and recipes in settings.json. Copy the following block into your settings.json file:
{
    "latex-workshop.latex.autoBuild.run": "never",
    "latex-workshop.latex.tools": [
        {
            "name": "tectonic",
            "command": "D:/latex-tools/tectonic.exe",
            "args": [
                "--synctex",
                "%DOC%.tex"
            ],
            "env": {}
        }
    ],
    "latex-workshop.latex.recipes": [
        {
            "name": "tectonic",
            "tools": [
                "tectonic"
            ]
        }
    ]
}
Detailed Configuration Breakdown
-
latex-workshop.latex.autoBuild.run
Determines when automatic compilation triggers. Setting the value to
"never"disables auto-building on every save. This prevents heavy background compilation while drafting long documents such as theses or books. You can still trigger builds manually. If you prefer automatic compilation for short notes, set this option to"onSave". -
latex-workshop.latex.tools
Defines external commands executable by VS Code. The
"name"property assigns a unique identifier, while"command"points to the absolute path oftectonic.exe. -
args
Specifies command-line flags passed to Tectonic. The
--synctexflag generates coordinate map files for navigation between source code and PDF pages.%DOC%.texis a dynamic placeholder replaced by LaTeX Workshop with the active document name. -
latex-workshop.latex.recipes
A recipe specifies a sequence of tools executed during a build. The configuration above defines a recipe named
"tectonic"that calls the"tectonic"tool.
Adjusting the Executable Path
Update the "command" property to reflect the actual location of tectonic.exe on your machine:
"command": "D:/latex-tools/tectonic.exe"Save the file changes by pressing Ctrl + S.
Step 5 Setting Up Your LaTeX Project Folder
Keeping your project folder organized prevents build errors caused by unsupported path characters.
- Create a dedicated folder for your document, such as
D:\thesis-project\. - Open VS Code and open the directory via File > Open Folder… or by pressing
Ctrl + Kfollowed byCtrl + O. - Create a main LaTeX file with a
.texextension inside the folder, for instancedocument.tex. - Avoid using long spaces or non-ASCII characters in folder and file names to prevent engine resolution issues.
If you use Git for version control, create a .gitignore file in your root project folder and add the following entries to exclude build artifacts:
*.aux
*.log
*.out
*.toc
*.synctex.gz
*.pdf
Step 6 Document Compilation and Navigation
With autoBuild.run set to "never", you control exactly when compilation runs.
Manual Compilation Methods
There are several flexible ways to trigger document compilation manually in VS Code. You can use visual interface buttons, keyboard shortcuts, or direct commands via the Command Palette depending on your workflow preferences.
-
Play Icon in Editor Header
Open your main
.texfile. In the top-right header of the editor, click the green play icon to run the Tectonic recipe. -
LaTeX Sidebar Panel
Click the LaTeX icon on the left sidebar, expand the Command menu, and select Build LaTeX project.
-
Keyboard Shortcut
Press
Ctrl + Alt + Bwhile focused on a.texfile to trigger a build instantly. -
Command Palette
Open the Command Palette with
Ctrl + Shift + P, typeLaTeX Workshop: Build LaTeX project, and press Enter.
SyncTeX and PDF Preview
Upon successful compilation, Tectonic generates primary output files in your project directory:
-
document.pdf
The final rendered PDF document ready for reading or distribution.
-
document.synctex.gz
A compressed file containing coordinate mappings between
.texsource lines and visual elements in the PDF.
Press Ctrl + Alt + V or click View LaTeX PDF in the LaTeX sidebar to open the built-in PDF viewer.
With synctex.gz present, you can utilize two powerful navigation features:
-
Forward Search
Place your cursor on a code line in your
.texfile and pressCtrl + Alt + J. The PDF preview automatically highlights the corresponding text block. -
Backward Search
In the PDF preview tab, hold
Ctrland left-click any word or sentence. The text editor immediately moves your cursor to the matching.texsource line.
Step 7 Comprehensive Debugging and Troubleshooting
Compilation can occasionally run into issues due to syntax errors, missing packages, or permission restrictions.
Inspecting Verbose Output Logs
If a build fails, indicated by a red status indicator, inspect detailed output logs to identify the root cause.
- Open the lower panel by pressing
Ctrl + `. - Select the Output tab.
- Click the dropdown on the right side of the Output tab and switch from Tasks to LaTeX Workshop or LaTeX Compiler.
- Review log entries. Tectonic lists active package downloads and exact line numbers where syntax errors occurred.
Common Issues and Solutions
| Problem | Possible Cause | Solution |
|---|---|---|
tectonic.exe not found | Incorrect path in settings.json command entry | Verify file path accuracy and ensure forward slashes / are used |
| Bibliography missing or showing question marks | biber.exe missing from Tectonic folder or version mismatch | Place biber.exe version 2.17 in the same directory as tectonic.exe |
| Compilation stalls during package download | Network connection interrupted while fetching new CTAN packages | Ensure active internet connection when compiling new packages |
| Corrupted Tectonic cache | Local cache directory contains broken assets | Clear cache at %USERPROFILE%\AppData\Local\Tectonic and recompile |
Adjusting Configuration for Linux and macOS
The workflow on Linux and macOS is identical to Windows, with adjustments required only for path formats and executable permissions.
- Change the
"command"path insettings.jsonto your Tectonic binary location, such as/usr/local/bin/tectonicor/home/username/bin/tectonic. - Omit the
.exefile extension. - Grant execute permissions by running
chmod +x tectonicandchmod +x biberin terminal. - If Biber is not discovered during bibliography compilation, add its folder to your system
PATHenvironment variable or define it in the"env"object insettings.json.
Conclusion
Combining VS Code, LaTeX Workshop, and Tectonic provides a lightweight, fast, and organized environment for drafting LaTeX documents. You can focus entirely on writing without managing gigabytes of traditional TeX distributions. Pairing Tectonic v0.16.9 with Biber v2.17 delivers a solid foundation for academic papers, reports, and books.